Cisco IKEV2 S2S VPN with Windows CA
We'll be looking at how to configure an IKEV2 Site-to-Site VPN using digital certificates from a Windows CA
NETWORK ENGINEERINGPKINETWORK SECURITY
Jovan Nedic
6/30/2024


In this post we'll go over how to configure an IKEv2 Site-to-Site VPN using digital certificates from a Windows Certificate Authority. This was done in an EVE-NG lab environment and should not be replicated in a production environment. This post is for learning purposes only.
Let's start with our lab topology and basic configuration settings.
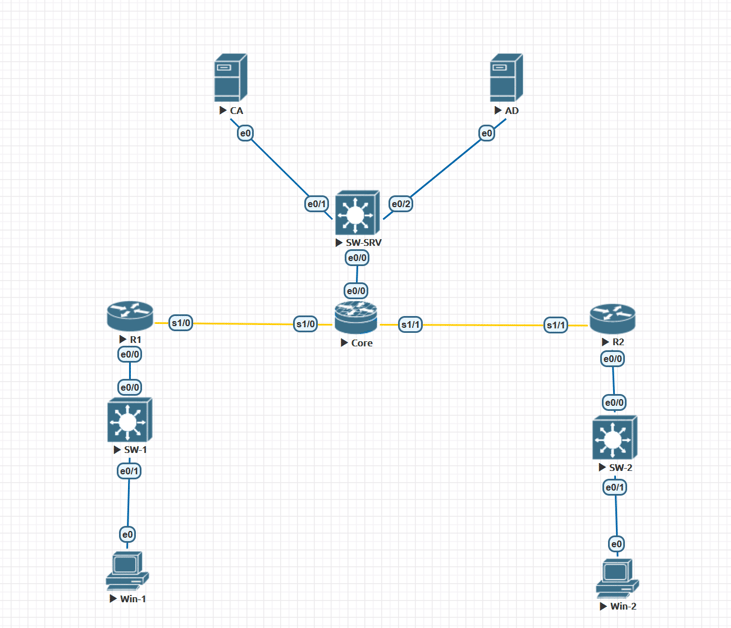
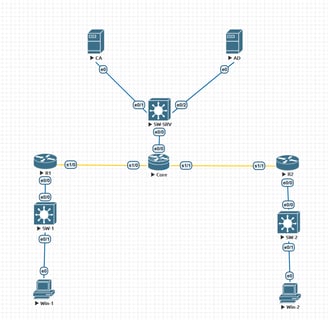
The Core router represents a basic WAN, and R1/R2 represent our sites. Two Windows 10 machines are on the LAN side of R1/R2 while the AD/CA servers are on the LAN side of the Core router. R1 and R2 have reach-ability to each other's LANs and the LAN containing the Certificate Authority. None of the three switches are configured, they're just turned on and forwarding traffic.
Between R1/R2 and the Core router I've placed Serial connections just to help differentiate the LAN side from where the tunnel interfaces will be configured. This could be done with Ethernet interfaces as well. Let's start by reviewing the basic configuration for the Core and R1/R2 routers.
--CORE--
The Serial interface between R1 and the Core router will be on the 10.0.1.0/30 subnet:
interface s1/0
ip address 10.0.1.2 255.255.255.252
The Serial interface between R2 and the Core router will be on the 10.0.2.0/30 subnet:
interface s1/1
ip address 10.0.2.2 255.255.255.252
We'll also configure an Ethernet interface for the ADDS and CA servers that will be on the 192.168.100.0/24 subnet:
interface e0/0
ip address 192.168.100.1 255.255.255.0
no shut
We've also configured the Core router to act as the NTP server for both R1/R2 and the AD/CA server (the CA sever will get it's time from the AD server and the AD server points to the Core router):
ntp master
With the Core router configuration now complete we'll move on to a basic configuration for R1/R2 to establish an unencrypted tunnel between the two endpoints.
--R1--
Let's configure our LAN and Serial interfaces (Note, in EVE-NG some routers need to have Ethernet interfaces connected to a switch set for duplex full):
interface s1/0
ip address 10.0.1.1 255.255.255.252
interface e0/0
ip address 192.168.1.1 255.255.255.0
duplex full
no shut
We'll also set our default route and NTP configuration to both point to the Core router:
ip route 0.0.0.0 0.0.0.0 10.0.1.2
ntp server 10.0.1.2
We're now ready to create our tunnel interface on R1. The tunnel between R1 and R2 will be on the 172.17.1.0/30 subnet with R1's IP address 172.17.1.1 and R2's IP address as 172.17.1.2:
interface tunnel 10
ip address 172.17.1.1 255.255.255.252
tunnel source 10.0.1.1
tunnel destination 10.0.2.1
The above command will establish a GRE tunnel between the R1 Serial interface S1/0 and R2 Serial interface S1/1. We also want to have a direct route between the 192.168.x.x LANs off R1/R2 which are going to use the GRE tunnel to communicate. In this small environment we can use a static route:
ip route 192.168.2.0 255.255.255.0 172.17.1.2
With these settings configured on R1, we'll mirror the configuration for R2 on the other side of the Core router.
--R2--
interface s1/1
ip address 10.0.2.1 255.255.255.252
interface e0/0
ip address 192.168.2.1 255.255.255.0
duplex full
no shut
ip route 0.0.0.0 0.0.0.0 10.0.2.2
ip route 192.168.1.0 255.255.255.0 172.17.1.1
ntp server 10.0.2.2
interface tunnel 10
ip address 172.17.1.2 255.255.255.252
tunnel source 10.0.2.1
tunnel destination 10.0.1.1
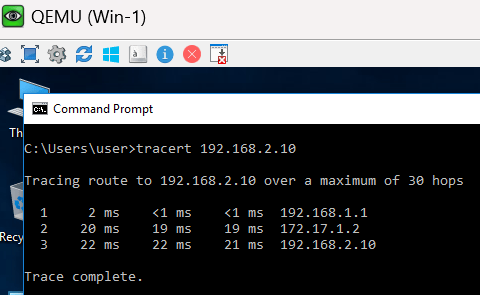
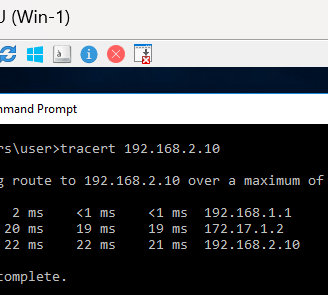
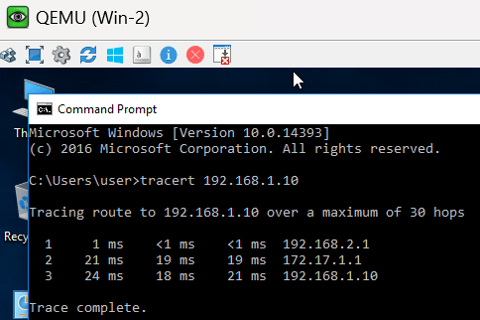
Between R1 and R2 we should have an unencrypted GRE tunnel. In our R1/R2 LANs we have two Windows 10 machines Win-1 off R1 has the IP address of 192.168.1.10 and Win-2 off R2 has the IP address 192.168.2.10. We can test the tunnel's functionality using tracert between the two workstations. The packets should hop directly through the 172.17.1.0/30 tunnel network.
Below is a trace from Win-1 --> Win-2 and Win-2 --> Win-1:
With our tunnel established between R1 and R2 we'll now configure our Active Directory and Certificate Authority servers to create certificates and encrypt the tunnel. I'm not going to go through the process of installing ADDS on a Windows Server, just note that the AD domain name is lab.redeaglecyber.com.
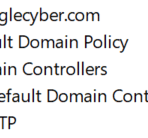
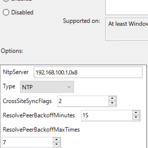
With the AD domain established, I added the CA server to the domain. Once the CA server was added, I configured NTP settings for the domain controller to point to our Core router. This was done with a GPO and linked to the Domain Controllers OU. Time settings for a GPO are found under Computer Configuration --> Policies --> Administrative Templates --> System --> Windows Time Service --> Windows Time Providers. Review the below image gallery for configuration settings.

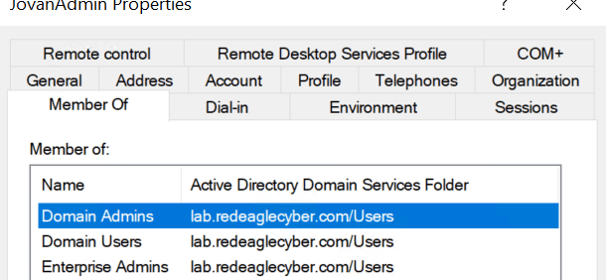
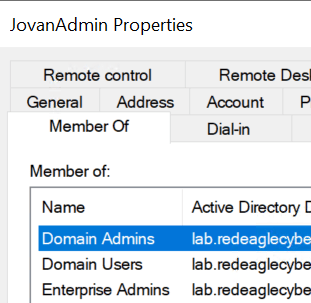
Before setting up the CA server. We created a user account jovanadmin and added it to the Domain Admins and Enterprise admin domain groups (don't do this in a production environment).
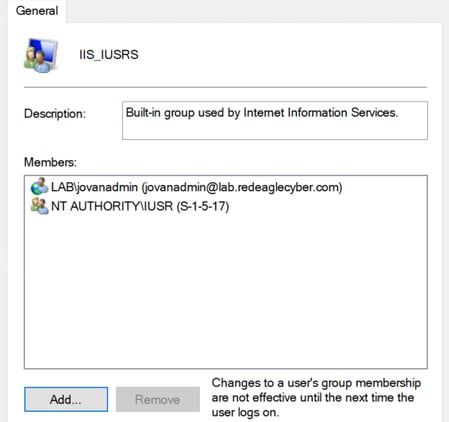
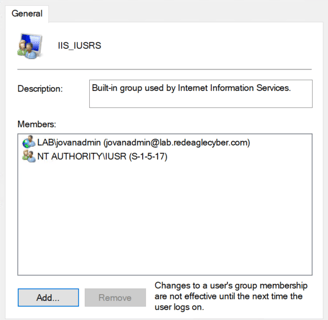
Before installing Certificate Authority services on the CA server, we'll log into it and navigate to Computer Management --> Local Users and Groups --> Groups --> IIS_IUSRS and add the jovanadmin account to this group.
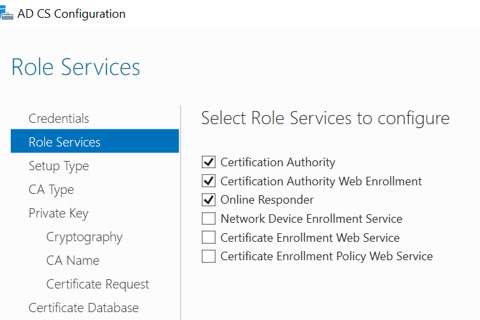
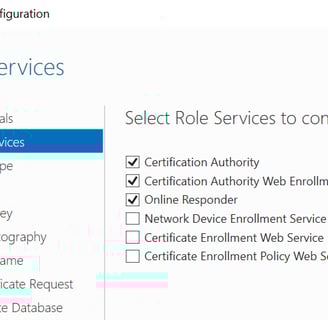
Now the CA server is ready to have Certificate Services installed. We'll install all Role Services under ADCS.When it comes to configuring ADCS Role Services, we'll do the following:
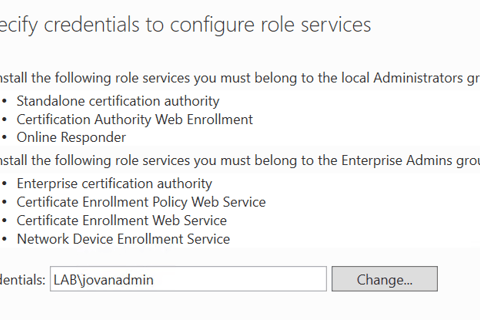
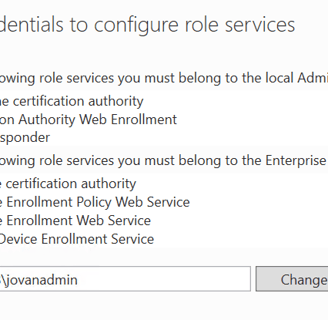
Use the JovanAdmin account to install the Role Services:
We'll then Configure the following three services to start with:
This completes the CA server configuration, we're now ready to enroll our R1/R2 routers. To do this, we're going to configure the host and domain name then set up the trust point on both routers (the host name/domain name can be done earlier if desired):
--R1--
hostname R1
ip domain-name lab.redeaglecyber.com
crypto pki trustpoint LAB-CA
enrollment mode ra
enrollment url http://192.168.100.100:80/certsrv/mscep/mscep.dll
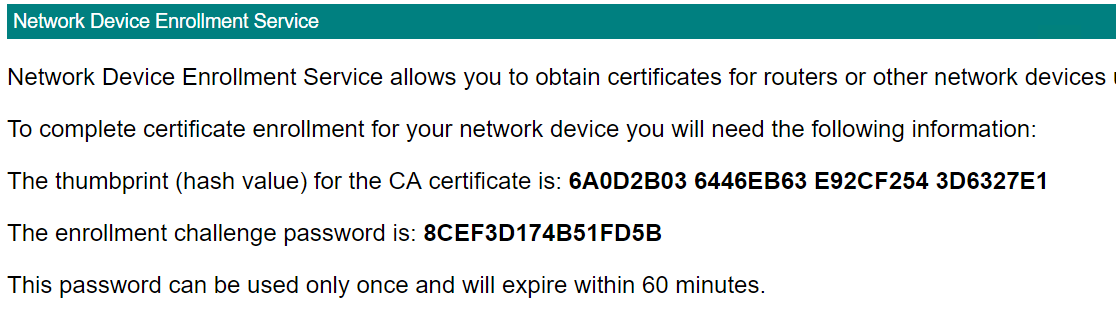
fingerprint 6A0D2B036446EB63E92CF2543D6327E1
subject-name cn=R1.lab.redeaglecyber.com
revocation-check none
source interface Serial1/0
hash sha256
--R2--
hostname R2
ip domain-name lab.redeaglecyber.com
crypto pki trustpoint LAB-CA
enrollment mode ra
enrollment url http://192.168.100.100:80/certsrv/mscep/mscep.dll
fingerprint 6A0D2B036446EB63E92CF2543D6327E1
subject-name cn=R2.lab.redeaglecyber.com
revocation-check none
source interface Serial1/1
hash sha256
This sets up our routers to authenticate to the CA. We will then authenticate both routers to the CA and receive the CA certificate:
crypto pki authenticate LAB-CA
Before we enroll either router for certificates, we must generate an RSA key pair for each router so that it may present a public key to the CA:
crypto key generate rsa modulus 2048
We're now ready to enroll each router:
crypto pki enroll LAB-CA
The password requested will be the password on the NDES page of the CA shown above (Note: You can only use this password once). A serial number and IP address does not need to be included. If everything goes well then the routers will be automatically enrolled and granted a certificate. If you see errors that the request was rejected, refresh the NDES page and get a new password; make sure it doesn't contain white spaces.
Now that our routers contain the CA certificate chain, we're ready to build our IKEV2 and IPSEC policies to be applied to the tunnel.
We'll start off with building a certificate map. A certificate map will check certificates for certain fields. In this example, we'll have the certificate map on both routers that checks the certificate subject name contains lab.redeaglecyber.com:
crypto pki certificate map CMAP 10
subject-name co lab.redeaglecyber.com
We can now start building out our IKEv2 proposals, policies, and profiles
--R1 and R2--
crypto ikev2 proposal V2PROP
encryption aes-cbc-256
integrity sha256
group 14
crypto ikev2 policy V2POL
proposal V2PROP
--R1--
crypto ikev2 profile V2PROF
match identity remote address 10.0.2.1
match certificate CMAP
identity local address 10.0.1.1
authentication remote rsa-sig
authentication local rsa-sig
pki trustpoint LAB-CA
lifetime 82800
--R2--
crypto ikev2 profile V2PROF
match identity remote address 10.0.1.1
match certificate CMAP
identity local address 10.0.2.1
authentication remote rsa-sig
authentication local rsa-sig
pki trustpoint LAB-CA
lifetime 82800
--R1 and R2--
crypto ipsec transform-set TR_SET esp-aes 256 esp-sha256-hmac
mode tunnel
crypto ipsec profile IPSEC_PROFILE
set transform-set TR_SET
set ikev2-profile V2PROF
interface tunnel 10
tunnel protection ipsec profile IPSEC_PROFILE
This should complete the IPSEC tunnel. If there's an issue authenticating the certificate you'll see the tunnel interface drop immediately and not come back up. This was the case when we first ran this lab without an AD joined Certificate Authority.
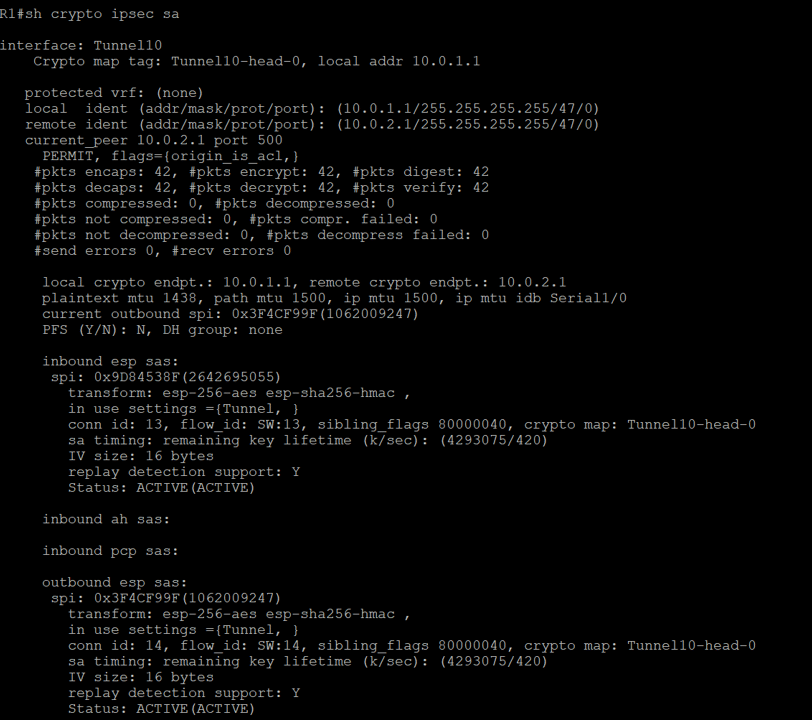
If we run the command show crypto ipsec sa we should see evidence that encrypted traffic is passing between the two routers:
Setup Type: Enterprise CA
CA Type: Root CA
We navigate through the remaining settings with default values
Once configuration for those role services is complete, we circle back and complete Network Device Enrollment Service, Certificate Enrollment Web Service, and Certificate Enrollment Policy Web Service.
When asked for a user account for NDES we specify JovanAdmin
The remaining settings are all set to default until we reach the Service Account section where we again specify JovanAdmin
We're now ready to use NDES on our CA. To get the information we need to input in both R1/R2 we can use a browser to navigate to http://ca.lab.redeaglecyber.com/certsrv/mscep_admin/ (I found I have to do this from the domain controller, otherwise it doesn't show the fingerprint or password). We should see a page like the following: